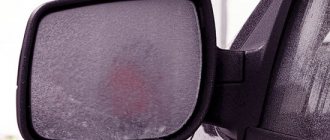
My long-time dream was to install heated mirrors. I looked with white envy at those who drive in the rain with completely dry burdocks and excellent visibility... And so I found an online store at the plant that supplies VAZ with burdocks www.solina-avto.ru and ordered heated mirrors and wiring for him. With delivery it came out to be something like 600-700 rubles.
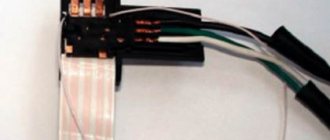
It took me quite a long time to install it, because I realized that I couldn’t do it in an hour. In addition, I had to figure out exactly HOW I should install them. There are 2 options - on a separate button or on the heated rear window. At first I decided to put it on a separate button, as shown in batyram, but already during the installation process I decided to simplify the task in order not to create a bunch of buttons, since these heaters usually turn on both and I don’t need independent activation anyway... The installation process took 3 days, since the weather interfered (I installed it outside, since there is no space in the garage), I did not have the necessary tools at hand. The sequence is like this (the same for each door, so the photo is only for the right one):
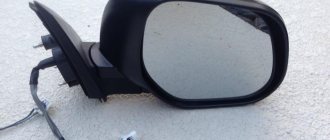
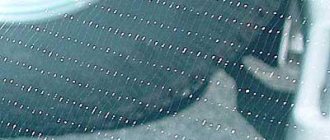
1. Carefully removed the mirror itself. Here I had 3 screwdrivers to help me and I needed my father’s help to bend the mirror, and I used two screwdrivers to remove the latches.
Phew, installed two weekends, now they work